Let's make it
Instructions.
- 1
1. Print the templates. Choose your favorite monster and ghost designs from the printable.
- 2
2. Cover the template. Place the template under a laminating sheet, sheet protector, wax paper, or another smooth nonporous surface that the dried glue can peel away from easily.
- 3
3. Trace with glow glue. Use glow-in-the-dark glue to trace the outside of each shape.
- 4
4. Fill it in. Completely fill the inside of the monster or ghost with glow glue. Try to create a fairly even layer.
- 5
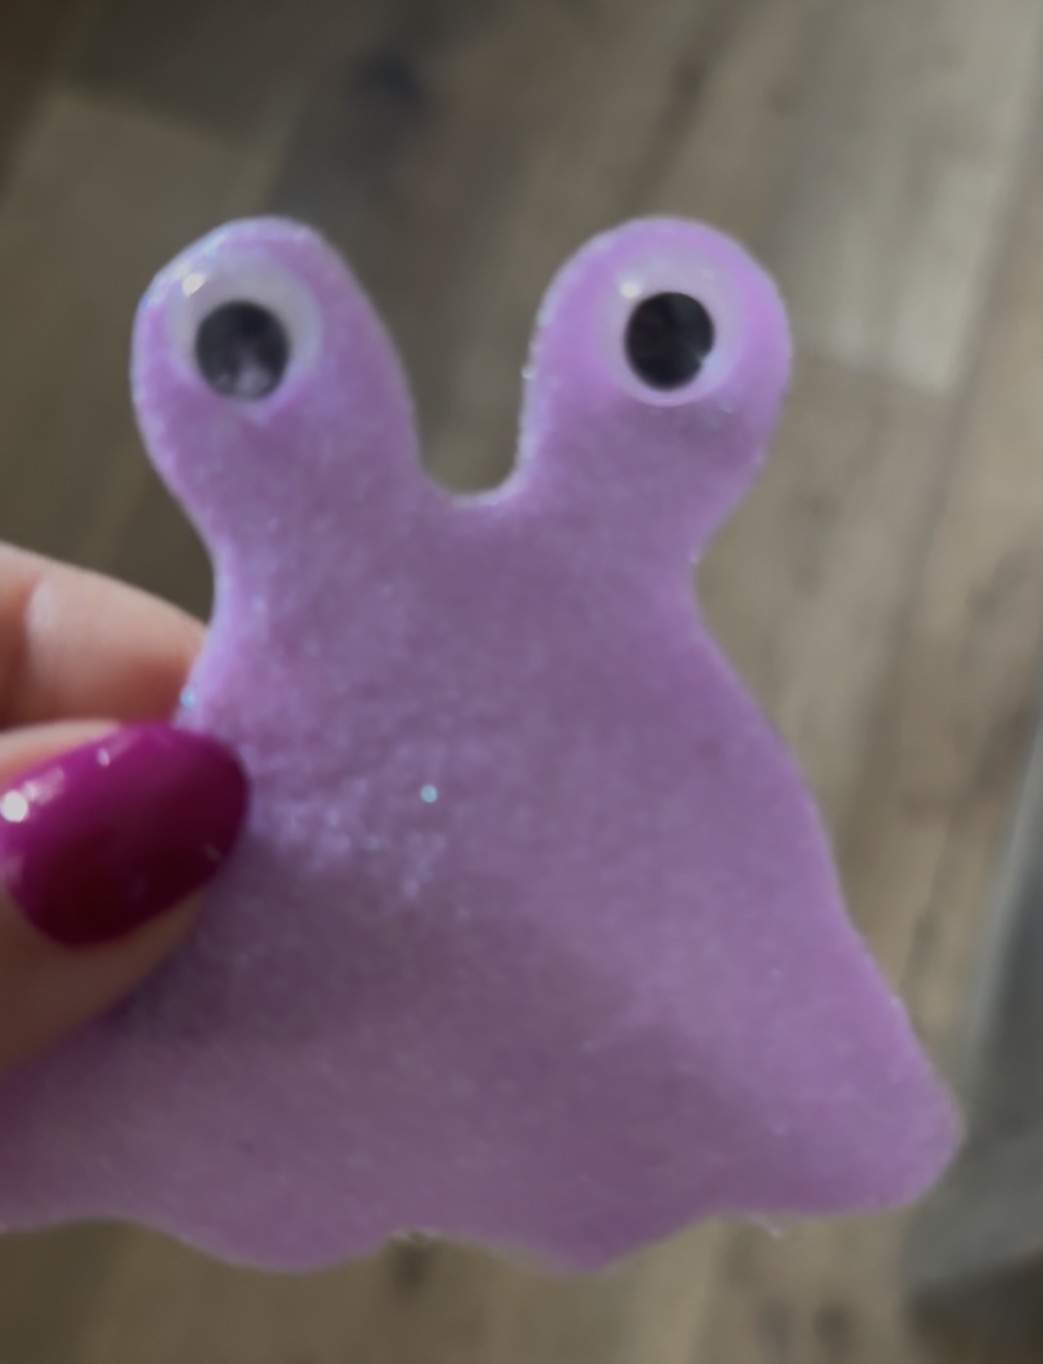
5. Add googly eyes. While the glue is still wet, gently press googly eyes into your design.
- 6
6. Let them dry completely. Leave the clings flat and undisturbed. Ours took a few days to fully dry. Thicker areas may take longer.
- 7
7. Peel them off. Once completely dry, carefully lift an edge and slowly peel each cling from the surface.
- 8
8. Stick them to the window. If they don’t stick on their own, lightly wet the back with a little water and press them onto clean glass.
- 9
9. Make them glow! Charge them under a bright light, turn down the lights, and watch your monsters and ghosts glow. 👻✨
Safety tip
- Adult supervision recommended, especially for younger children.
- Googly eyes are small parts and can be a choking hazard.
- Use non-toxic, washable glue intended for craft use.
- Keep glue away from eyes and mouths, and wash hands after the activity.
- Window clings are for decoration only and should not be put in the mouth.
- Test on a small area of your window first and remove any residue with warm, soapy water.
Field Notes
- Plan ahead: Ours took a few days to dry completely, especially where the glue was thicker.
- Don’t peel them too early. If they still feel tacky or stretch excessively, give them more time.
- A laminating sheet, sheet protector, wax paper, or other smooth nonporous surface works well underneath the template.
- If your finished clings won’t stay on the glass, lightly wet the back with water before pressing them onto the window.
- Charge them under a bright light before turning off the lights for a stronger glow.
- Imperfect shapes are part of the fun! Ours had uneven edges and different thicknesses, which gave every monster its own personality.